
In-game NFT Marketplace Quickstart
Setting up your NFT marketplace can be done quickly via the studio portal
Once you have a Blockus account set up and user creation enabled, you're ready to set up your NFT marketplace. As mentioned in previous guides, Blockus enables you to create a branded web marketplace and/or use APIs to create your own in-game marketplace. Creating NFTs using the below guide allows both web and API-based stores to display your NFTs.
Marketplace Video
Marketplace Walkthrough
Setting up a store.
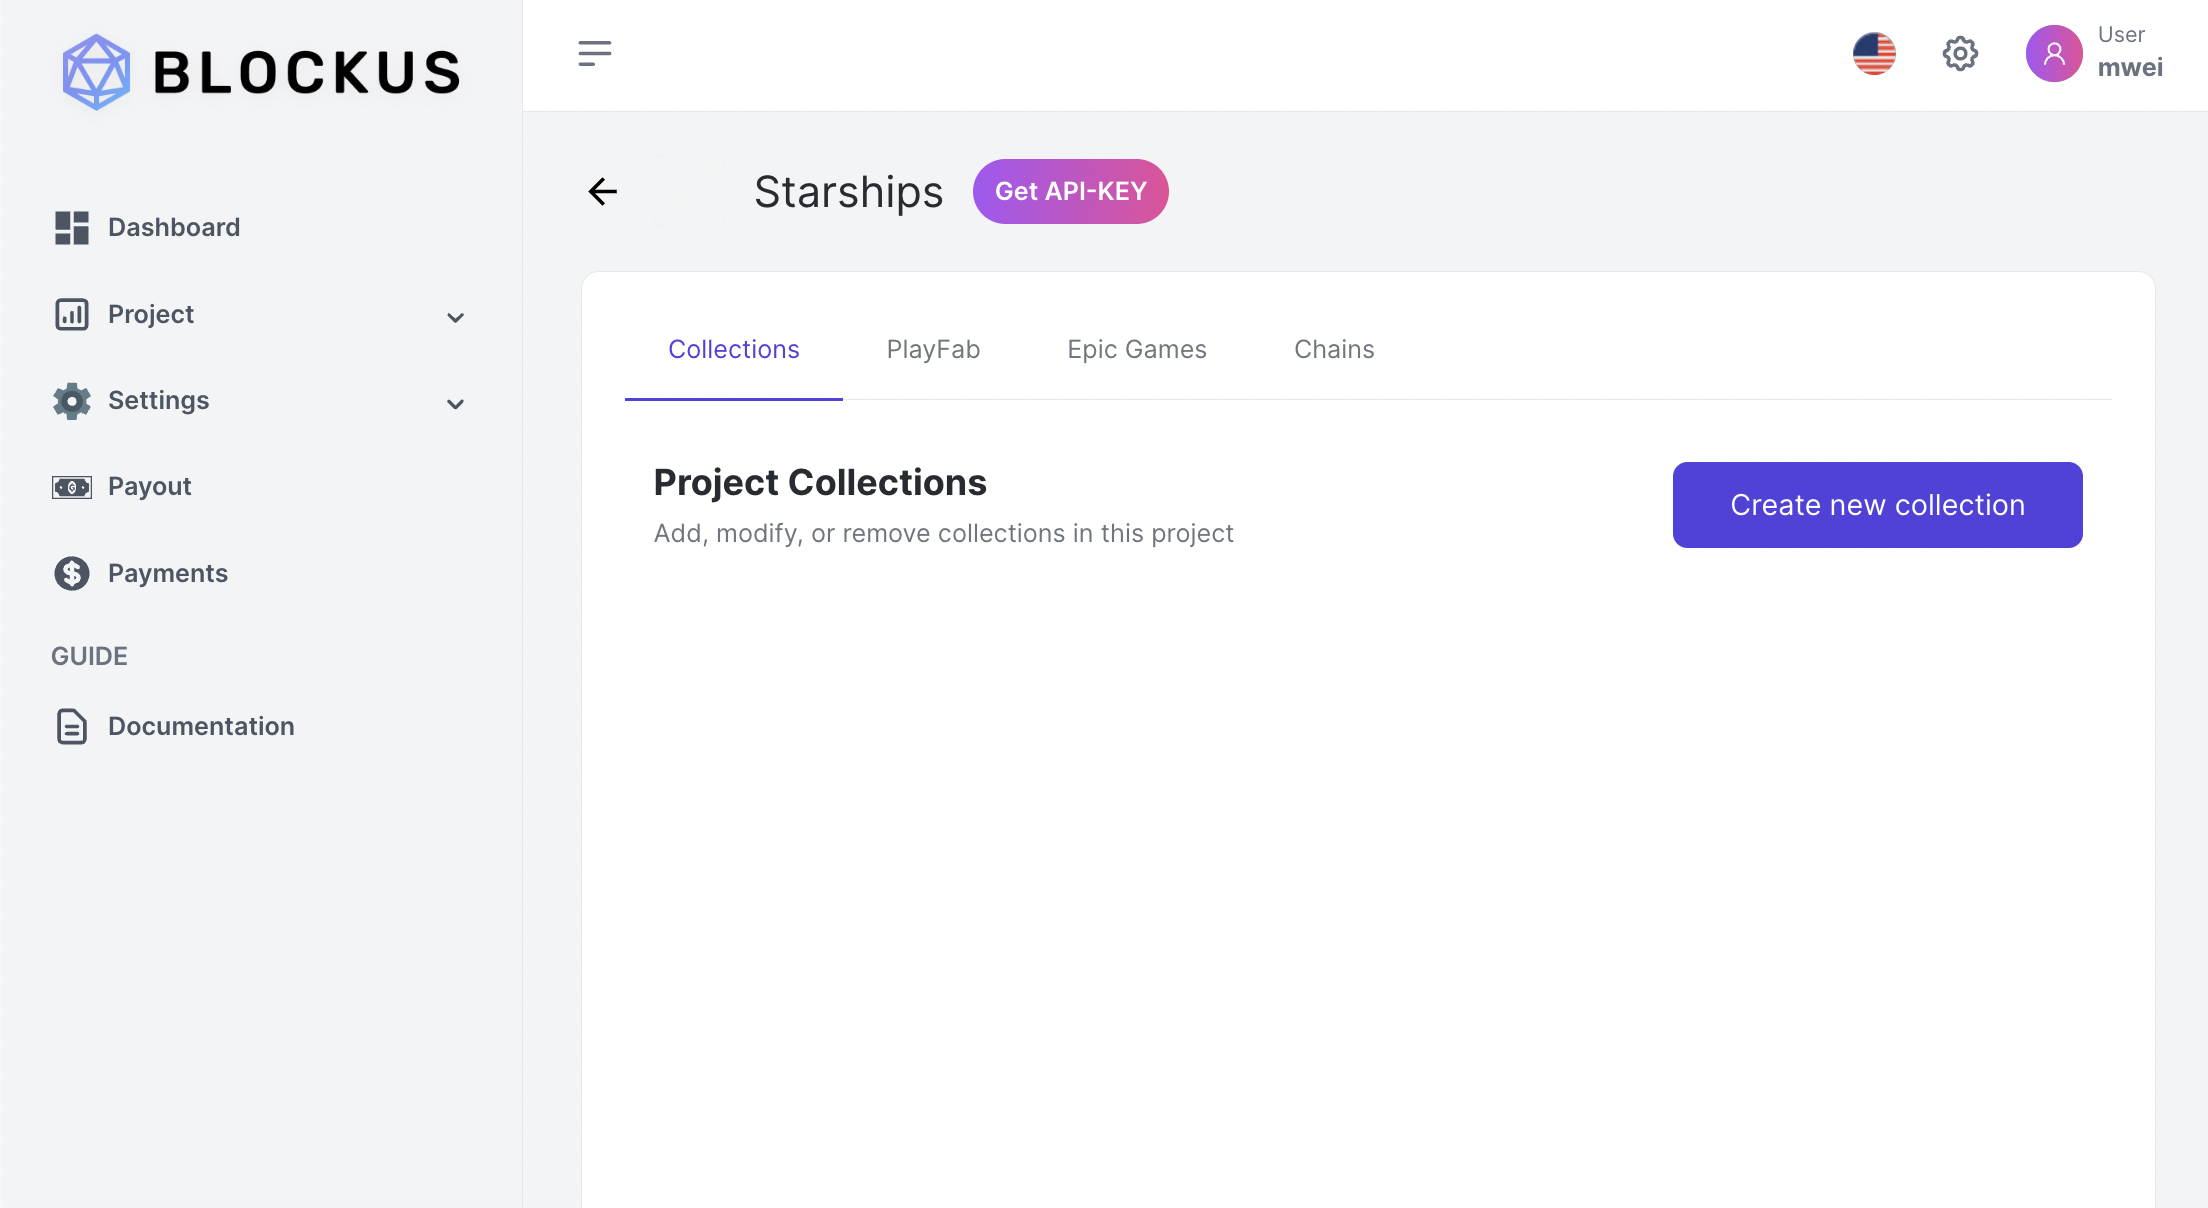
First, create a NFT collection in studio portal. Each collection must be tied to one chain. If you want to create the same asset on multiple chains, you will need to create one collection per chain.
NoteCurrently, only ERC1155 collections are supported on EVM chains.
Once you've created a collection, you can now add individual NFTs. Each NFT can have limited or unlimited copies for ERC1155.
Now that you have some NFTs ready to go, let's deploy the collection!
NoteA collection cannot be deployed without an NFT. Collection cannot be changed after deploy. Ensure everything is correct before deploying!
Viewing store items
With your shiny new NFT collection deployed, let's check it out!
curl --request POST \
     --url https://blockus.net/v1/stores/inventory \
     --header 'X-PROJECT-ID: <yourProjectId>' \
     --header 'X-PROJECT-KEY: <yourProjectKey>' \
     --header 'accept: application/json' \
     --header 'content-type: application/json' \
		 -d '{"email": "[email protected]","credential": "testPassword"}'↵
Updated 10 months ago
What’s Next
Now that we've minted an NFT for a player, let's take a look at gasless transactions to abstract away the concept of gas for web2 users.